Table of Contents (Click To Jump) [show]
Prep Like a Pro: Sand, Scrape, Rinse, and Repeat
The first of my thorough list of painting tips is by far the most important, so listen up, all you DIY’ers. Before you even think about diving into that paint can, take a look at your canvas. Cracked, flaking, or peeling surfaces are the enemy. Treat them like that one ex who keeps popping up in your DMs: sand them down, give them a good rinse, and make sure they’re out of the picture for good.
The Right Way to Paint a Room: Step-by-Step
Painting a room is like baking a cake; you’ve got to do it in the right order, or you end up with a mess that not even a bottle of wine can fix. So, here’s how to do it without wanting to repaint your life choices.
Step One: Aim High, Start with the Ceiling
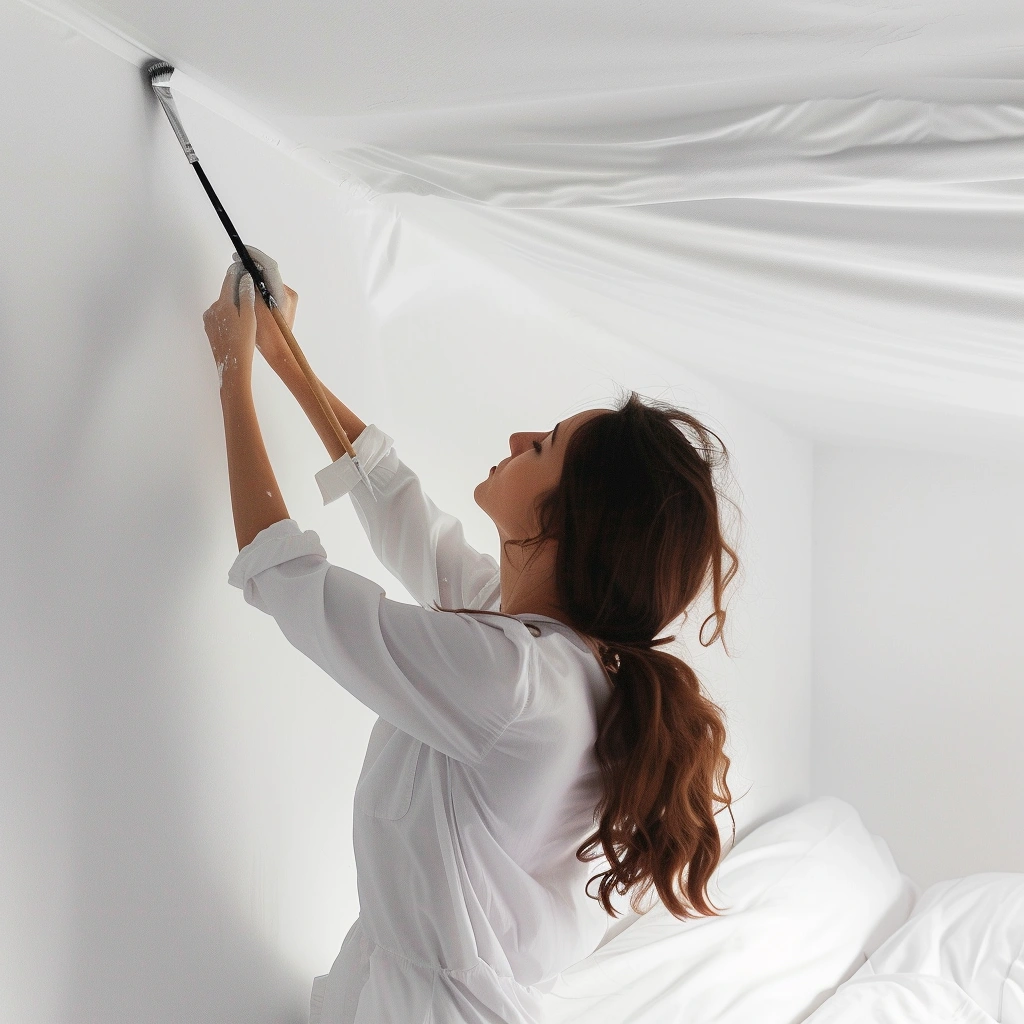
Before you even think about those walls, start with the ceiling. It’s like dealing with your biggest problem first, like when I finally blocked Mr. Ex on social media. Pure bliss. Roll on that ceiling paint and watch as your room begins its transformation from “meh” to “wow.”

Step Two: Wall-to-Wall Wonder
Once the ceiling is as dry as my humor at a PTA meeting, it’s time for the walls. Choose a color that says “I’ve got my life together” even if you’re secretly googling “how to adult.” Roll and brush to your heart’s content, but keep it neat. We’re going for “home makeover” vibes, not “toddler’s art project.”
Step Three: The Devil’s in the Details
Last but definitely not least, it’s time for the trimmings – windows, doors, and skirting boards. It’s like accessorizing your outfit; you wouldn’t step out without your earrings, right? Use a smaller brush for these bits, and maybe put on some tunes, because this part requires the patience of a saint.
Aging Tape: It’s a Sticky Situation
Ever deal with painter’s tape that’s more temperamental than my mood on a Monday morning? You know, the kind that clings to its roll like my kids to the Wi-Fi password, tearing and sticking where it shouldn’t. Here’s a hot tip: warm it up a tad with a hairdryer to make that tape more cooperative than Mr. Ex during a court-ordered mediation.
When Pros Bow to the Power of Painter’s Tape
Even Michelangelo probably wished he had some painter’s tape while working on the Sistine Chapel’s “trim.” It’s not about admitting defeat; it’s about embracing strategy. Stretch that tape along your finished surfaces—floors, woodwork, the cat (just kidding)—to ensure your paint only goes where it’s supposed to.
Drop Cloth Drama: The Unspoken Hero of Painting Tips
Canvas vs. Plastic: The Great Debate
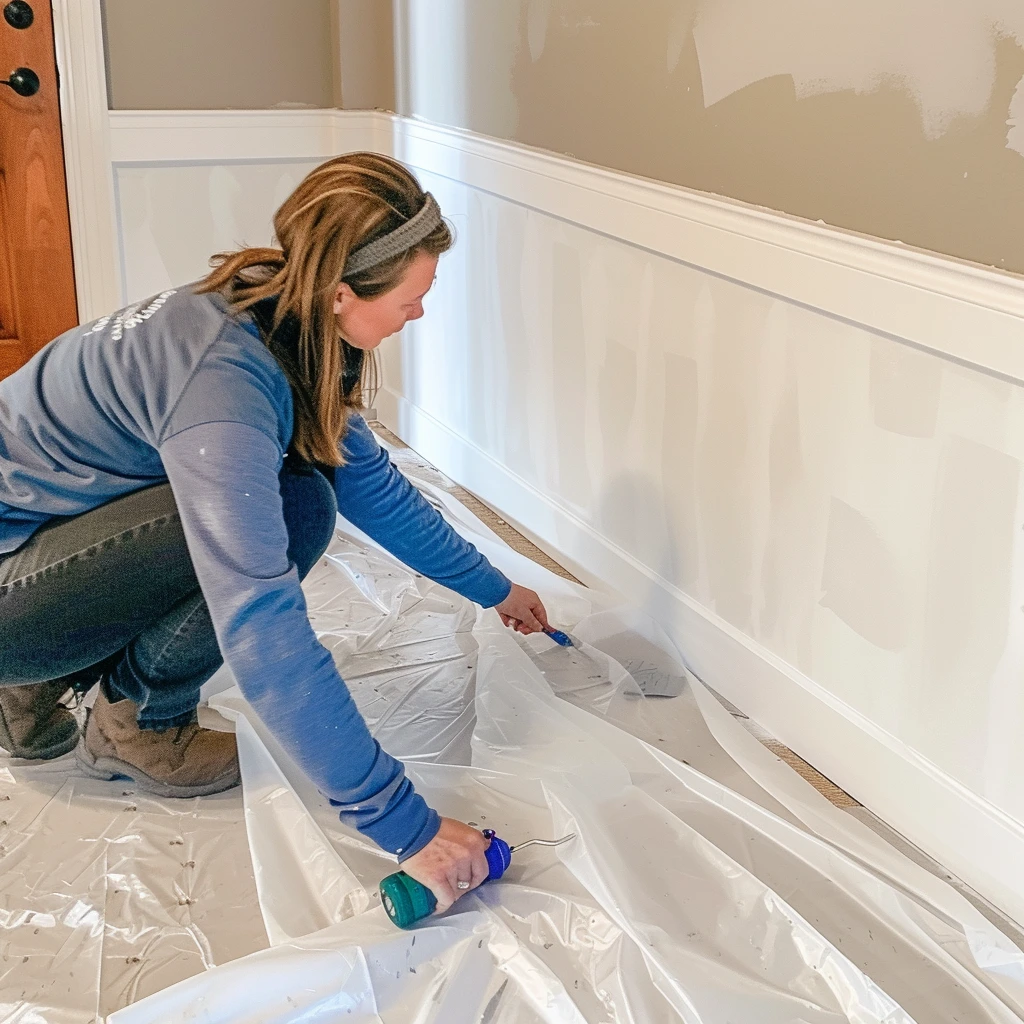
When it comes to drop cloths, it’s like choosing between wine and cocktails—each has its moment. Canvas is the old reliable, soaking up spills like a pro. Plastic, on the other hand, is the budget buddy, warding off paint like a bad date. Remember, while canvas is great for smaller spills, for those larger accidents, ensure you’ve got a backup plan—unless you want a surprise renovation of your white carpet too.
Plastic People: Slip ‘n Slide No More
Ah, the classic drop cloth slip—more treacherous than the dating scene post-divorce. They bunch, they slide, they conspire with ladders to bring you down. The solution? Tape them down firmly or opt for a textured backing that grips like a toddler’s hand on a candy bar.

Primer: The Great Equalizer
Think of primer as the great equalizer, smoothing over life’s little imperfections and preparing your walls for a fresh start. It’s like therapy for your walls, readying them for a new chapter of color and vibrancy.
This section is adjusted to combine the emphasis on primer, reduce repetition, and maintain a focus on the humorous yet practical advice that defines your brand. Next, I’ll provide the concluding sections with the suggested revisions.
Here’s the final chunk of your article with the suggested revisions:
Paint Quality: Don’t Be Cheap
After forking over more money to lawyers than I care to admit, I understand the temptation to cut corners. But with paint, think of it as an investment in your peace of mind. Opt for the top shelf—the kind that doesn’t whisper betrayals with every brush stroke. Your walls deserve the best—they’re the silent witnesses to your life’s soap opera.
Room-Specific Paint: It’s a Thing For a Reason
Not all rooms are created equal, and neither should their paint be. Bathrooms and kitchens demand high-performance paint that laughs in the face of mold and mildew. Opt for satin at the minimum, but semi-gloss or gloss will stand up to moisture and keep your walls looking pristine.
Quality Brushes and Rollers: Don’t Skimp on the Good Stuff
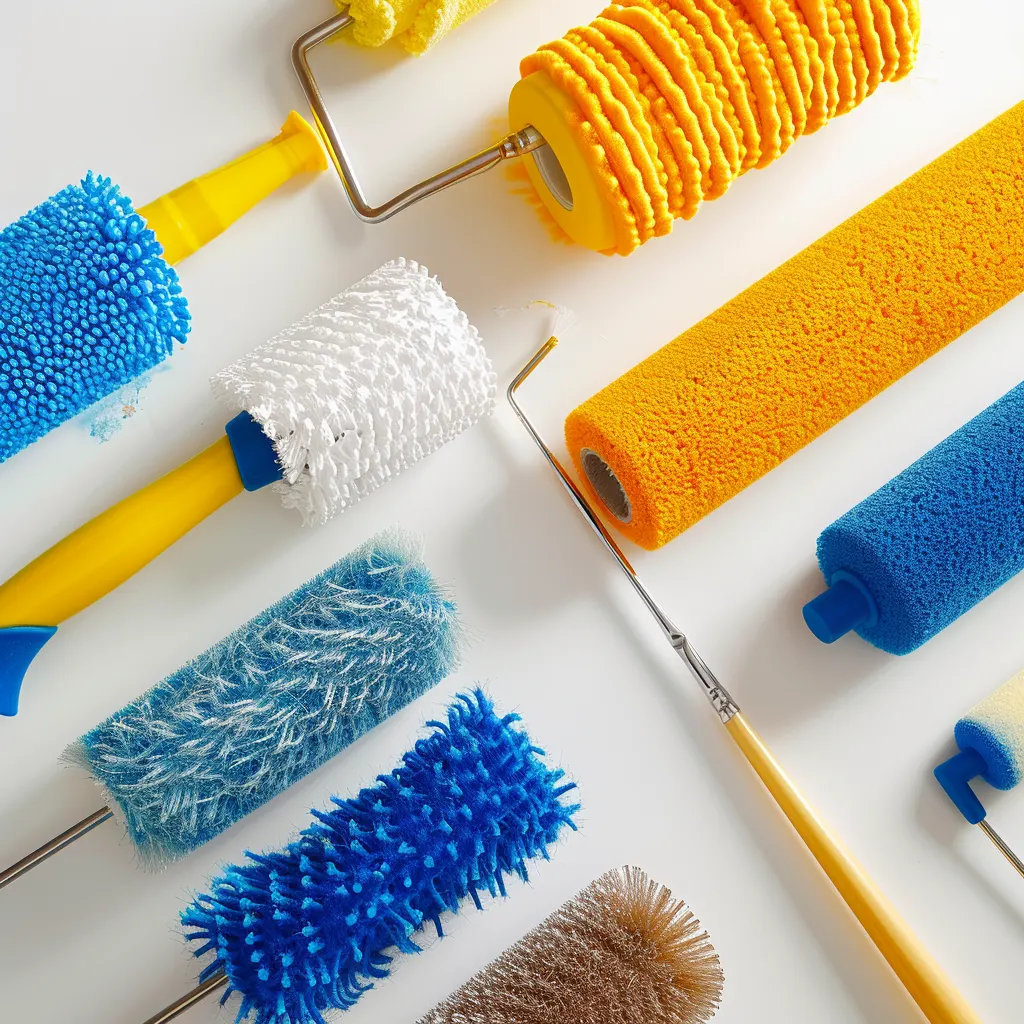
Investing in quality brushes and roller covers is crucial—it’s all about harmony. Match the nap of your roller to your wall texture as if you’re pairing socks. It saves time, paint, and prevents mid-project meltdowns.

The Right Grip: Saving Your Hand from Mutiny
Hold the brush with finesse, not a death grip. It’s about maintaining control without taxing your hand, ensuring a smooth application and reducing the chance of mistakes.
Prep Your Brushes Like a Pro
Wash those brushes before you start. Removing loose bristles beforehand keeps your paint application smooth and your walls free from unwanted texture.
Generosity is Key, People
When loading up your brush or roller, think generosity. More paint means fewer trips to the tray and a smoother application. But remember, it’s a fine line between generous and wasteful.
The Crying Game or The Drying Game?
Be mindful of drying times and adjust your technique to the conditions of your space. It’s about flexibility and adapting to ensure the best finish.
Keep Your Brushes Alive Longer Than Your Last Houseplant
To prevent your brushes from drying out, get creative with storage solutions. Whether it’s wrapping them in plastic, using a Pringles can, or another inventive method, keeping them moist between sessions saves paint and hassle.
Cold Is Best
Storing your painting tools in a cool environment, like a fridge, can extend their usability and keep the paint ready for your next session.

