Table of Contents (Click To Jump)
Introduction: Arm Yourself, DIY Warrior
So, you’ve decided to take the plunge into the vast, unpredictable ocean of DIY home repair. Bravo! There’s nothing quite like the thrill of staring down at a home project with the fierce determination of a cat eyeing the last piece of salmon on the dinner table. But before you charge into battle, you’re going to need to arm yourself—and I’m not talking about raiding the cutlery drawer.
Enter the sacred toolkit, the holy grail for any DIY enthusiast looking to transform their humble abode from “meh” to “whoa” with nothing but their wits and a healthy dose of elbow grease. And while the journey from DIY newbie to seasoned pro might be fraught with more twists and turns than a soap opera love triangle, fear not! With the right tools in hand, you’re already halfway there. So, let’s gear up, Buttercup. It’s time to make your home the canvas for your very own masterpiece, one loose screw at a time.
Basic Essential Tools
- Hammer – The cornerstone of any toolkit, ideal for driving nails, fitting parts, and minor demolition.
- Screwdriver Set: A variety of flathead and Phillips head screwdrivers for all your screwing and unscrewing needs.
- Adjustable Wrench: A versatile tool for tightening and loosening nuts and bolts of various sizes.
- Pliers – essential for gripping, bending, and cutting. A set including needle-nose and slip-joint pliers covers most needs.
- Tape Measure: For all your measuring needs, because “eyeballing it” doesn’t always cut it.
- Utility Knife: Perfect for cutting through boxes, tape, and various materials with precision.
- Level – To ensure all your projects are perfectly horizontal or vertical, because nobody appreciates a crooked shelf.
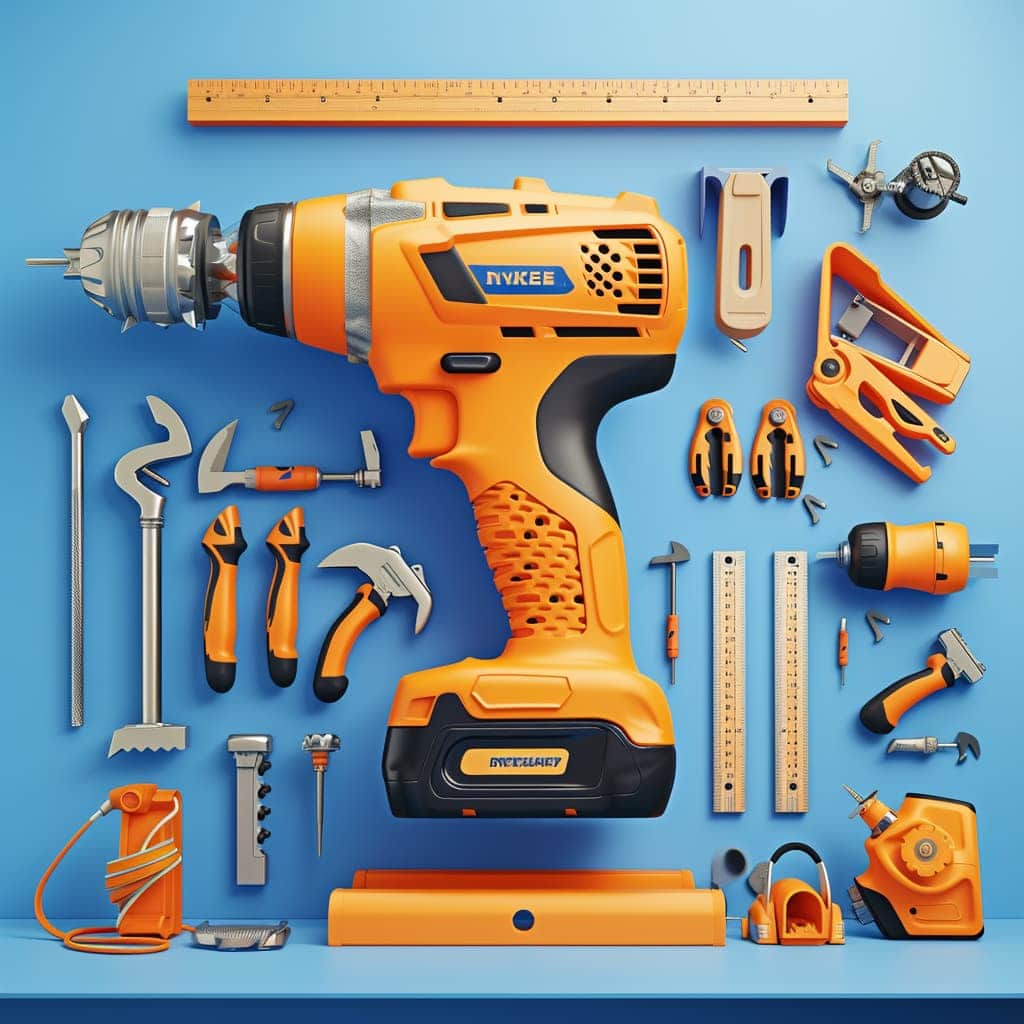
- Electric Drill and Drill Bits: A must-have for making holes and driving screws efficiently. A set of drill bits for wood, metal, and masonry is a plus.
- Stud Finder: essential for locating studs in walls and crucial for hanging heavy items safely.
- Flashlight or Headlamp: For those times you need to work in poorly lit areas or when the power goes out.
- Allen Wrench Set (Hex Keys): Often required for furniture assembly and bicycle repairs.
- Duct Tape and Electrical Tape: Because there’s nothing a little tape can’t fix, at least temporarily.
- Safety Gear: Including goggles, gloves, and ear protection to keep you safe while you work.
- Sanding Block or Electric Sander: For smoothing surfaces before painting or after making repairs.
- Saw: a basic handsaw for cutting wood, and maybe a hacksaw for cutting through metal pipes and plastic.
Now, I know what you’re thinking: “But DubG, what tools do I need to channel my inner Bob the Builder?” Well, dear reader, it’s not about having the shiniest, most expensive gadgets that make your garage look like an aisle at Home Depot. No, it’s about the essentials—the trusty sidekicks that’ll never leave you hanging (unlike that picture frame you’ve been meaning to fix for the past six months).
First up, the hammer. This isn’t just any old hammer; it’s the Mjölnir for the DIY gods among us, ready to smite any nail that dares stand in your way. Then there’s the screwdriver set, because let’s face it, screws are the confetti of the home repair world—everywhere and into everything. And don’t even get me started on the measuring tape. In the land of DIY, “eyeballing it” is about as reliable as the weather forecast during a British summer—useful in theory, but don’t bet your bottom dollar on it.
But wait, there’s more! Wrenches for those tight spots, pliers for the stubborn bits, and, of course, the level. Because the only thing worse than crooked pictures are the judgmental stares from visitors pretending not to notice. And let’s not forget the utility knife, for when you need to cut through the red tape (or just open a really stubborn package).
Armed with these essentials, you’re not just ready to tackle home repairs; you’re ready to conquer them, one laughable mishap at a time. Because in the world of DIY, every slip-up is just a step on the path to glory. Or, at the very least, a really good story to share at your next dinner party.

Power Up: Must-Have Power Tools
Before you dive headfirst into the nitty-gritty of advanced home repairs and garage transformations, let’s get one thing straight: having the right tools is like having the right spells in your wizarding arsenal—it can make or break your DIY adventures. We’re not just talking about your garden-variety hammer and screwdriver here. Oh no, we’re leveling up to the kind of specialty tools that would make even the most seasoned DIYer’s heart skip a beat. Tools like a stud finder, because nothing says “I know what I’m doing” like not accidentally turning your wall into Swiss cheese when you’re trying to hang a shelf. Or a multimeter, because playing guessing games with electricity is about as smart as a screen door on a submarine. And let’s not forget the oscillating multi-tool, the Swiss Army knife of the tool world, ready to tackle anything from an impromptu sanding session to a precision cut in places you didn’t think you could reach.
- Cordless Drill: The MVP of power tools, offering the convenience of portability while drilling and driving screws effortlessly.
- Circular Saw: A game-changer for woodworking, delivering swift and precise straight cuts like a hot knife through butter.
- Random Orbit Sander: The go-to for achieving flawlessly smooth finishes on wood without breaking a sweat.
- Rotary Tool: A compact dynamo, perfect for intricate work requiring finesse, such as carving, engraving, or polishing.
- Impact Driver: Packs a punch powerful enough to make a standard drill blush, ideal for heavy-duty screw-driving tasks.
- Laser Level: The guardian of precision, casting beams of light to guide your projects to perfection, from hanging art to tile alignment.
- Cordless Jigsaw: The artist of the power tool world, allowing for intricate cuts and curves with the freedom of cordless operation. Perfect for cutting shapes or making quick cuts in a variety of materials.

Specialty Tools for Advanced Home Repairs
Diving into advanced home repairs is like stepping into a world where your skills truly get to shine, and it’s the specialty tools in your arsenal that turn complex projects into masterpieces of DIY prowess. These aren’t just tools; they’re your allies in navigating the labyrinth of modern home improvement with precision, efficiency, and a dash of swagger. Specialty tools for advanced home repairs are the secret weapons that elevate your DIY game from basic repairs to home renovation heroics.
- Stud Finder: Essential for securely mounting anything on your walls, ensuring your projects have a solid foundation.
- Multimeter: Indispensable for electrical diagnostics, guaranteeing safety and precision in your electrical endeavors.
- Oscillating Multi-Tool: A versatile champion for cutting, sanding, scraping, and more, perfect for navigating those tricky spots.
- Thermal Leak Detector: Spot hidden energy leaks in your home with this tool, making your space more energy-efficient and comfortable.
- Inspection Camera: A must-have for peering into those hard-to-reach places, making it easier to diagnose issues without invasive measures.
- Electric Screwdriver with Adjustable Torque: Provides precision and power, ensuring you never over-tighten and strip screws, ideal for delicate installations.
- Cordless Angle Grinder: For cutting, grinding, and polishing tasks that require power and flexibility, this tool is invaluable for metalwork and masonry.
- Air Compressor and Accessories: Perfect for powering a variety of tools, from nailers to spray guns, expanding your DIY capabilities.

Tool Maintenance and Safety
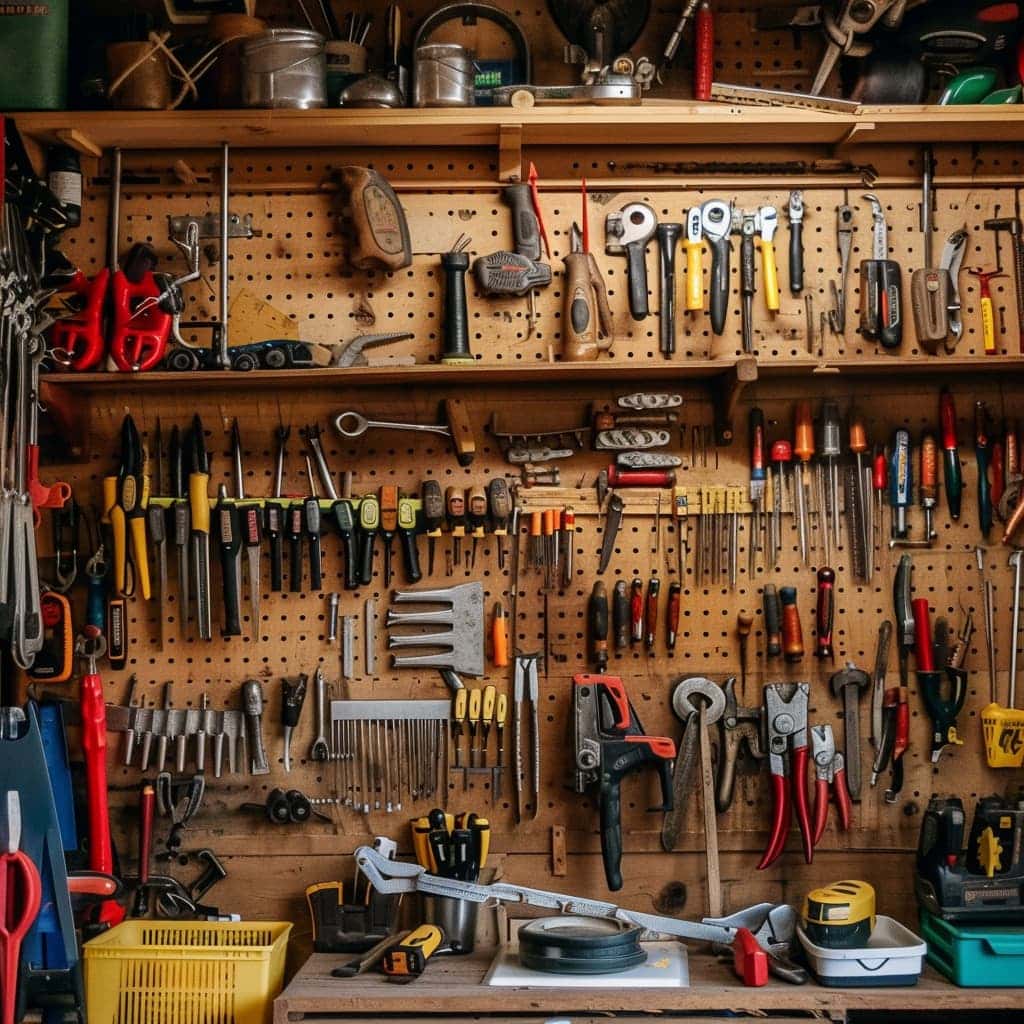
But wait, there’s more! Transforming your garage or ‘she shed’ into a DIY haven isn’t just about hoarding tools like they’re going out of style; it’s about keeping them in tip-top shape and knowing how to wield them without turning your weekend project into a trip to the ER. That means giving your tools the TLC they deserve with a little cleaning and proper storage – because nothing’s sadder than a rusty wrench. And safety? Non-negotiable. Decking yourself out in the latest in safety gear fashion (think: goggles that scream “I’m ready for business” and gloves that could withstand a cactus fight) is just step one. Knowing how to handle your power tools without accidentally redecorating your living room is the real game-changer. So, strap in, gear up, and let’s turn that DIY dream into a reality, one safe, well-organized step at a time.
- Cleaning and Storing Your Tools: Regular maintenance keeps your tools in top condition. Designate a clean, dry space for storage to prevent damage.
- Safety Gear and First Aid: Essential protective gear includes safety glasses, hearing protection, and durable gloves. Always have a first-aid kit readily available for emergencies.
- Safe Usage of Power Tools: Familiarize yourself with each tool’s manual. Understand their specific safety features and operational guidelines to prevent accidents. We will go into this subject in detail in a separate article because I have learned this lesson the hard and painful way too many times.
- Dust Extraction Systems: Keep your workspace clean and your lungs healthy by investing in a good dust extractor, especially when sanding or cutting wood.
- Tool Maintenance Kit: Have a set of cleaning brushes, lubricants, and sharpening tools to keep your power tools running smoothly and efficiently.
- Fire Extinguisher: Always have a fire extinguisher accessible in your workshop, especially if you’re working with flammable materials or heat-generating tools.
- Electrical Safety Devices: Use Ground Fault Circuit Interrupters (GFCIs) in your workshop to protect against electrical shock, particularly in damp environments.
- Workbench Clamps and Vises: Secure your projects firmly in place while working to prevent slips that could lead to injuries.
- Work Gloves: I’ve learned the hard way that a good pair of work gloves is more than just an accessory; it’s a necessity. I prefer thick, durable leather gloves that fit just right, capable of handling both extreme heat and bitter cold while still allowing me the flexibility to work effectively. Trust me, after enduring the agony of deep splinters under my nails, skin burns, and infections from tiny, invisible metal shards while sharpening tools with my Dremel, I can’t emphasize enough: invest in quality gloves. They’re the unsung heroes that could have saved me from all that pain. So, buy the darn gloves!

Conclusion
Equipping yourself with these essential tools is the first step toward becoming a proficient DIY handyman. With the right tools and a dash of confidence, there’s no repair you can’t tackle. Remember, every successful project begins with the right tool for the job.
